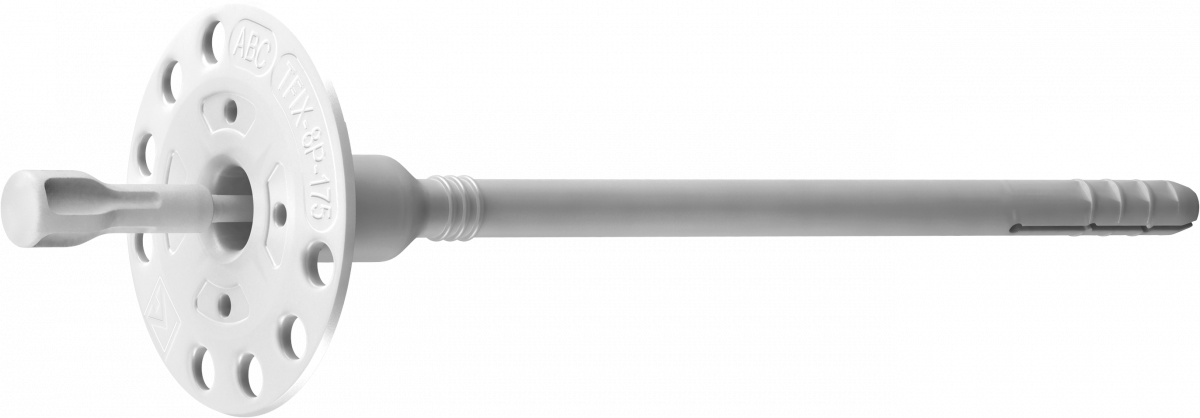
TFIX-8P Facade fixing with plastic pin
Versatile hammer-in facade fixing with plastic nail recommended for ETICS
Features and benefits
- Installation in all base materials (categories A,B,C,D,E)
- The plastic nail reduces heat transmission (value 0.0W/K)
- Pre-assembled expansion nail saves time and labour.
- Unique nylon pin design reinforced with glass fibre allows fast and trouble-free installation with correct expansion of the plug.
- Expansion zone designed for low embedment depths, reducing the amount of drilling required.
- Can be used in combination with additional KWL plate - 90, 110 or 140mm diameter.
Product information
Size |
Product Code |
Fixing |
Fixture |
|||
Diameter |
Length |
Plate diameter |
Recommended thickness |
|||
d |
L |
D |
tfix A, B, C, D |
tfix E |
||
[mm] | ||||||
Ø8 |
TFIX-8P-115-2 |
8 |
115 |
60 |
80 |
40 |
TFIX-8P-135-2 |
8 |
135 |
60 |
100 |
60 |
|
TFIX-8P-155-2 |
8 |
155 |
60 |
120 |
80 |
|
TFIX-8P-175-2 |
8 |
175 |
60 |
140 |
100 |
|
TFIX-8P-195-2 |
8 |
195 |
60 |
160 |
120 |
|
TFIX-8P-215-2 |
8 |
215 |
60 |
180 |
140 |
|
Base material
-
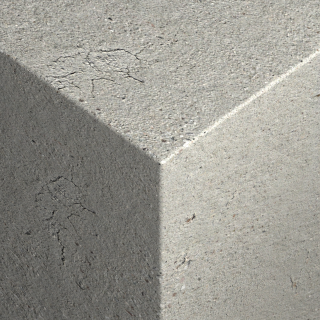
Concrete C12/15-C50/60 (Use category A)
-
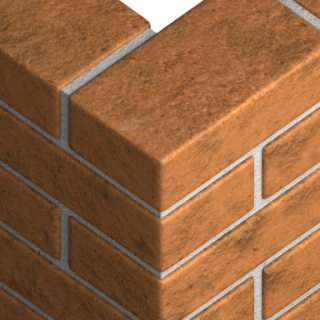
Solid Brick (Use category B)
-
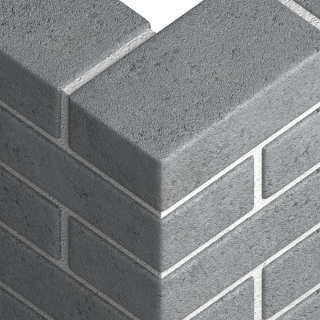
Solid Sand-lime Brick (Use category B)
-
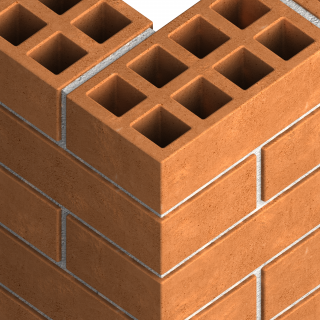
Hollow Brick (Use category C)
-
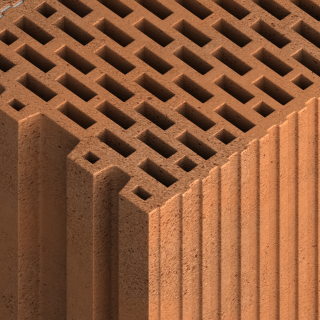
Vertically-perforated clay block (Use category C)
-
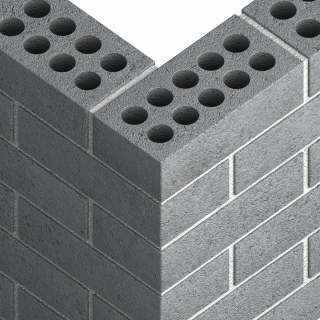
Hollow Sand-lime Brick (Use category C)
-
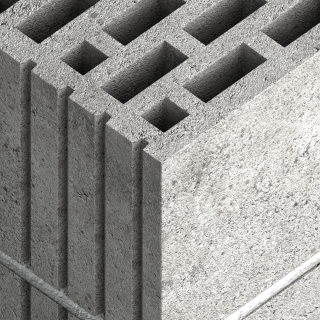
Hollow Lightweight Concrete Block (Use category D)
-
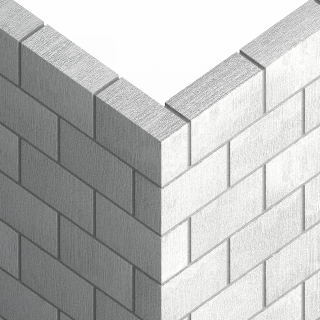
Lightweight Concrete Block (Use category C)
-
.png)
Reinforced components of lightweight aggregate concrete (Use category D)
-
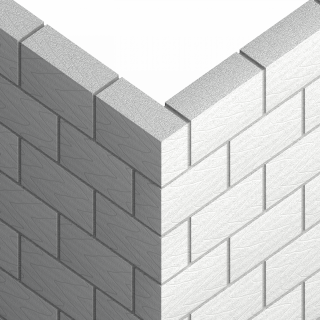
Aerated Concrete Block (Use category D)
Applications
- External Thermal Insulation Composite Systems (ETICS)
- Polystyrene (EPS) boards
- Polyurethane (PU) boards
- Mineral wool (MW) boards
- Lightweight wood wool building boards
- Cork boards
Installation guide
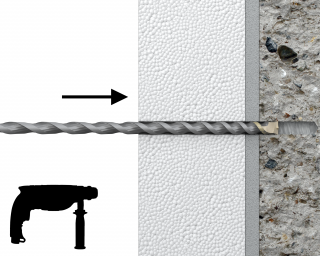
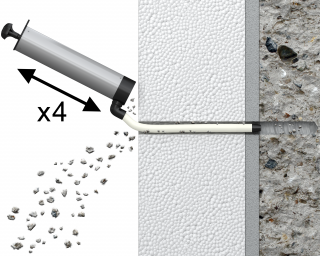
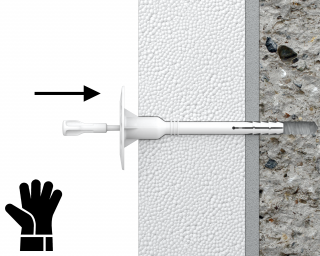
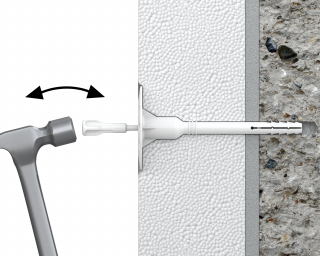
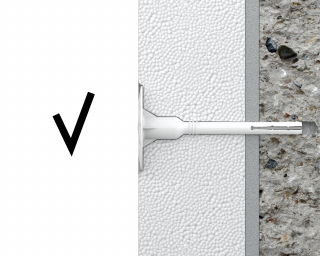
- Drill a hole of required diameter and depth
- Clean the hole
- Bottom side of the plate must be flush with the ETICS.
- Lightly tap the plastic nail into the plastic sleeve until fixing is secure and flush with insulation material.
- Embedment depth of min 25 in masonry, perforated materials and lightweight concrete blocks and 65mm in aerated concrete.
- In soft insulation panels the fixing should be combined with insulation retaining plates KWL-90, KWL-110, KWL-140.
Installation data
Substrate |
A, B, C, D |
E |
||
Hole diameter in substrate |
d0 |
[mm] |
8 |
8 |
Min. hole depth in substrate |
h0 |
[mm] |
40 |
80 |
Min. installation depth |
hnom |
[mm] |
25 |
65 |
Min. substrate thickness |
hmin |
[mm] |
100 |
110 |
Min. spacing |
smin |
[mm] |
100 |
100 |
Min. edge distance |
cmin |
[mm] |
100 |
100 |
Fixing diameter |
d |
[mm] |
8 |
8 |
