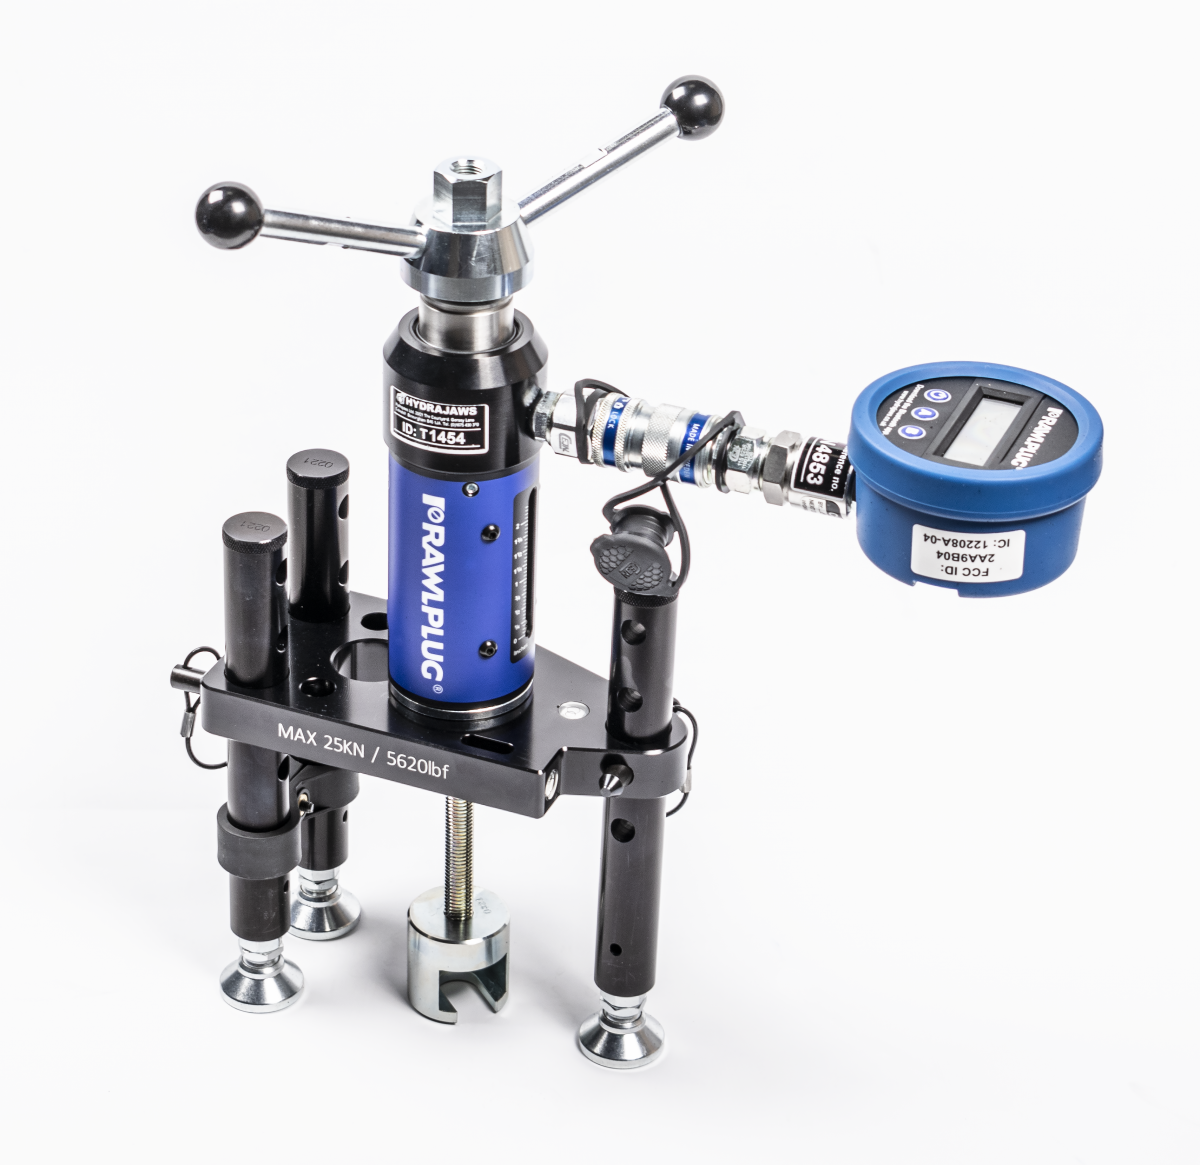
Rawlplug Tension Tester Kit
Pull-out tester

Features and benefits
- Pull-out tester enables engineers to confirm the holding power of anchors in most construction materials
Applications
- Pull-out tester for testing fixings, fasteners and anchors
Installation guide
- Fit the appropriate button to the fastener to be tested
- Slide the slot in the bolt tester adaptor over the button adaptor until the fastener axis and bolt tester axis are in alignment
- Adjust the length of the threaded legs until the head of the bolt tester adaptor can be passed through the opening in the load spreading bridge. Check that the head of the load spreading bridge is centered in the tester and the button adaptor is square in the u shaped slot in the puller. Make final adjustments so that the bolt tester adaptor, tester and fixing are aligned
- Position the tester so that the gauge can be easily read
- Adjust the length of the threaded legs so that all three are in contact with the base material and the load spreading bridge is aligned and level by referring to the bubble levels on each face
- Set the red pointer on the gauge to zero hold the tester by the grip handle and proceed to load the fastener by turning the operating handle clockwise
- Increase the load until the required test load is attained. Hold this load and observe any falling back of the gauge pointer which would indicate movement and possible failure of the fastener. Record the satisfactory result
- Release the load on the fastener by turning the operating handle anti-clockwise and allowing the test jaw to return to the original position
- Remove the tester and bolt tester adaptor