R-SL-MA Acrylic
Acrylic dispersion sealant
Features and benefits
- Solvent-free
- Flexible plastic joint, water-resistant after curing.
- Can be painted when fully-cured.
- Suitable for most construction substrates.
- Designed for internal and external use, with resistance to changeable weather conditions, once cured.
Base material
-
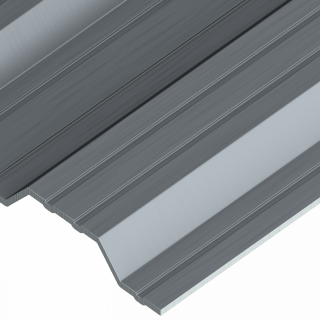
Metal Sheet & Profiles
-
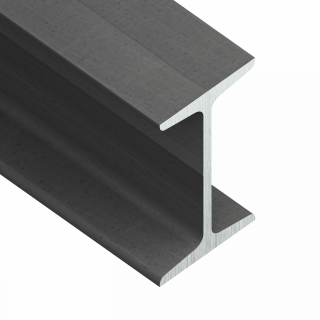
Stainless Steel
-
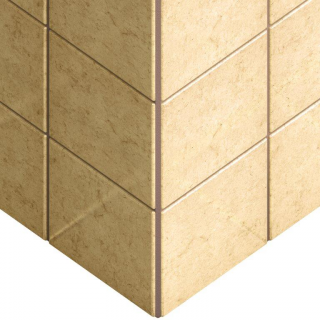
Ceramics
-
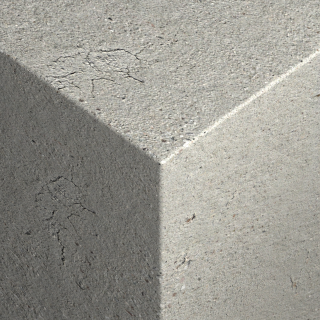
Concrete
-
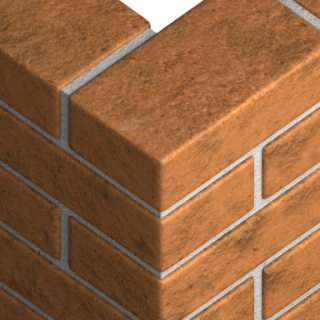
Masonry
-
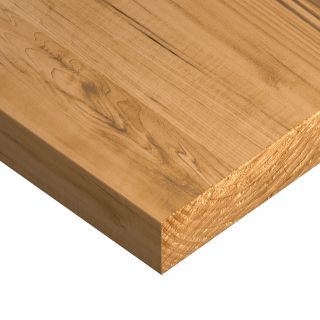
Wood
-
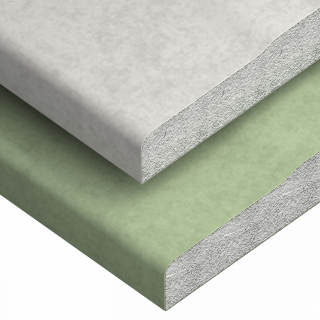
Plasterboard
-
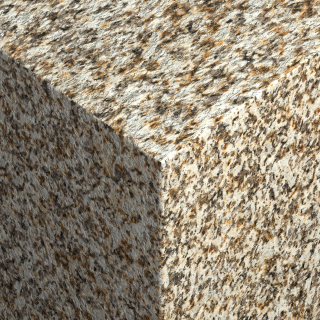
High-Density Natural Stone
-
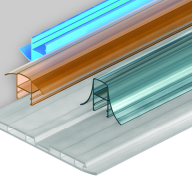
PVC Profile
-
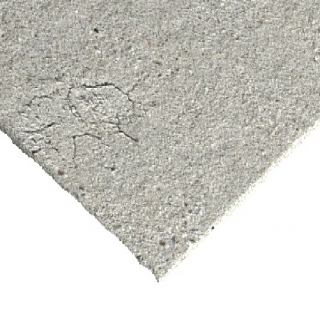
Plaster
For use also with
-
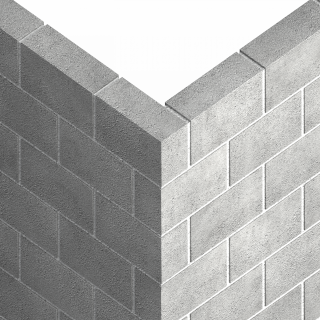
Solid Concrete Block
-
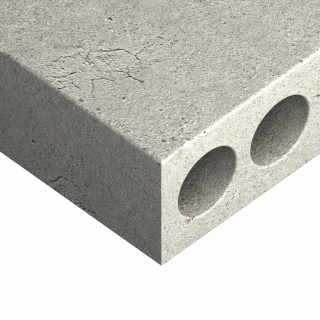
Hollow-core Slab
-
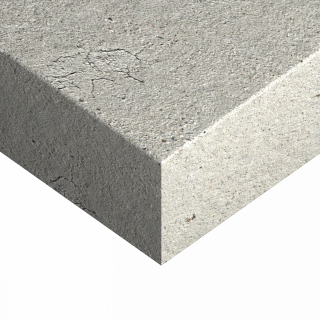
Concrete Slab
-
.png)
Aerated Concrete Block
-
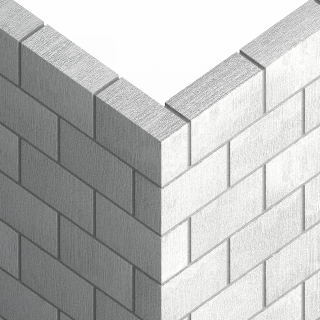
Lightweight Concrete Block
-
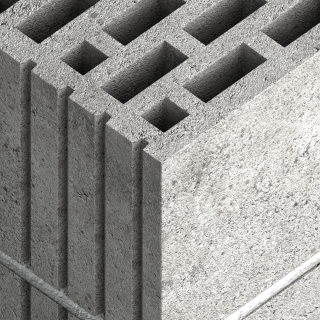
Hollow Lightweight Concrete Block
-

Silicate Blocks
-

High-Density Natural Stone
-
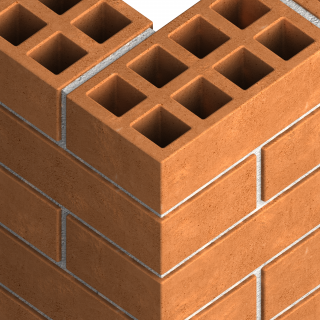
Hollow Brick
-
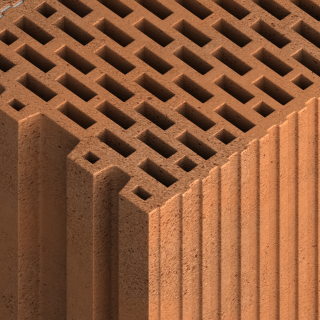
Vertically-perforated Clay Block
-
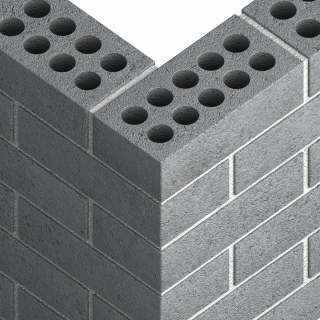
Hollow Sand-lime Brick
-

Solid Brick
-
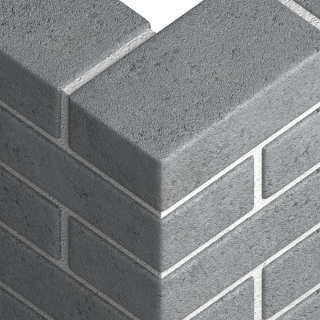
Solid Sand-lime Brick
-
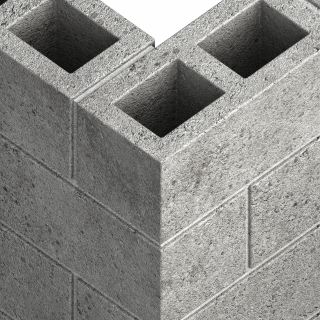
Ceramic Hollow Block
-
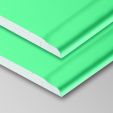
Gypsum Fibreboards
-

Plasterboard
-
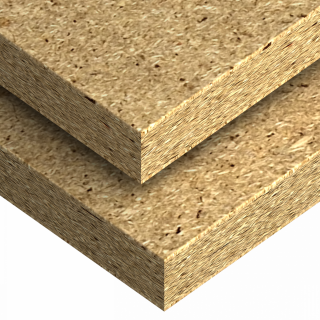
Chipboard
-
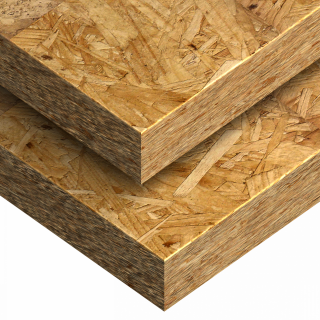
Oriented Strand Board
-

Stainless Steel
Applications
- Filling of joints and corner joints in the connections between gypsum and cardboard and similar finishing materials in drywall systems.
- Filling of the gaps inside the buildings, scratches, cracks in gypsum plaster, gypsum blocks and precasts of similar type.
- Grouting of joints between walls and floor tiles, baseboards, ceiling moldings, suspended ceilings and parapets.
- Small repairs before painting
- Filling around the windows, window sills and door frames
Installation guide
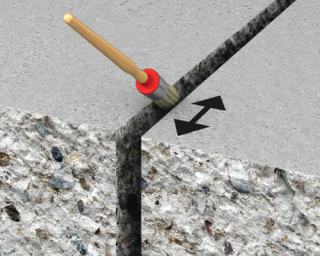
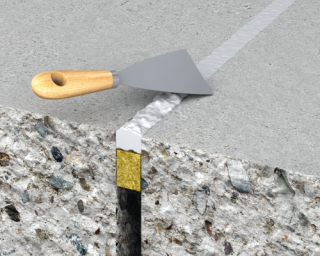
- Clean up the gap. Surface, that the acrylic will be applied on, should be clean, free of dust, dirt, grease, oil, rust, remains of old sealant and other substances that might lower the cohesion.
- In case of absorptive substrates, the priming is suggested. The test of adhesion prior application is also recommended.
- Prior to application, protect edges with masking tape
- Cut the tip of the cartridge, leaving part of the thread. Screw the applicator on to the thread, then cut at the required angle to give an aperture width suited to the joint.
- Use manual or pneumatic gun applicator.
- The applied acrylic can be smoothed with a spatula.
- After completing the application, wipe tools with a paper towel and wash with water.
- Fully dried product should be secured with plaster, paint etc.


