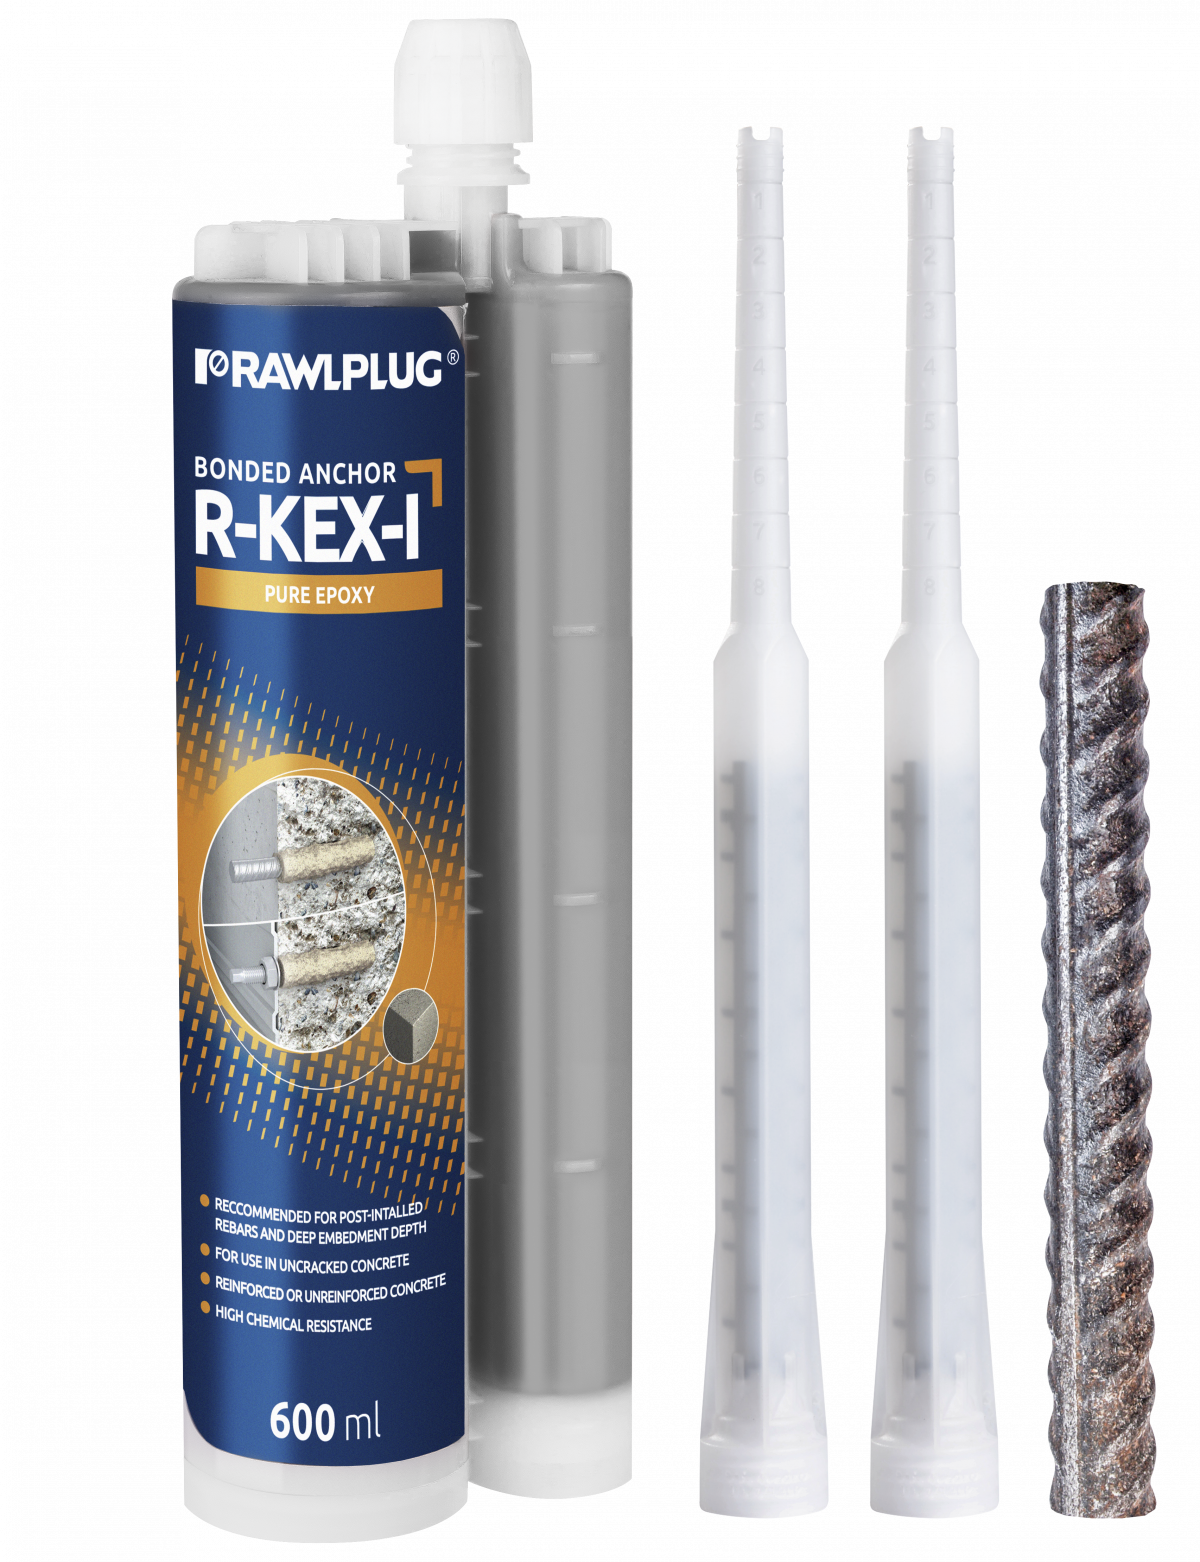
R-KEX-I REBAR AS ANCHOR
High performance pure epoxy resin approved for cracked and non-cracked concrete. Available in Asia-Pacific region.
Features and benefits
- Approved for use in cracked and non-cracked concrete (EAD 330499-00-0601)
- Suitable for use in dry and wet substrates including flooded holes (use category I1 & I2)
- Very high chemical resistance – suitable for applications exposed to influence of various agents (industrial or marine environment)
- Minimal shrinkage provides option of use in diamond-drilled holes and oversized holes
- For use in positive temperatures
- High-performance epoxy resin for concrete.
- Installation direction D3 (downward and horizontal and upwards installation).
- Extended working time ensures easy installation of metal components (up to 50 min. in 20°C).
- Working with Dustlessdrill - drlling and hole cleaning in one step.
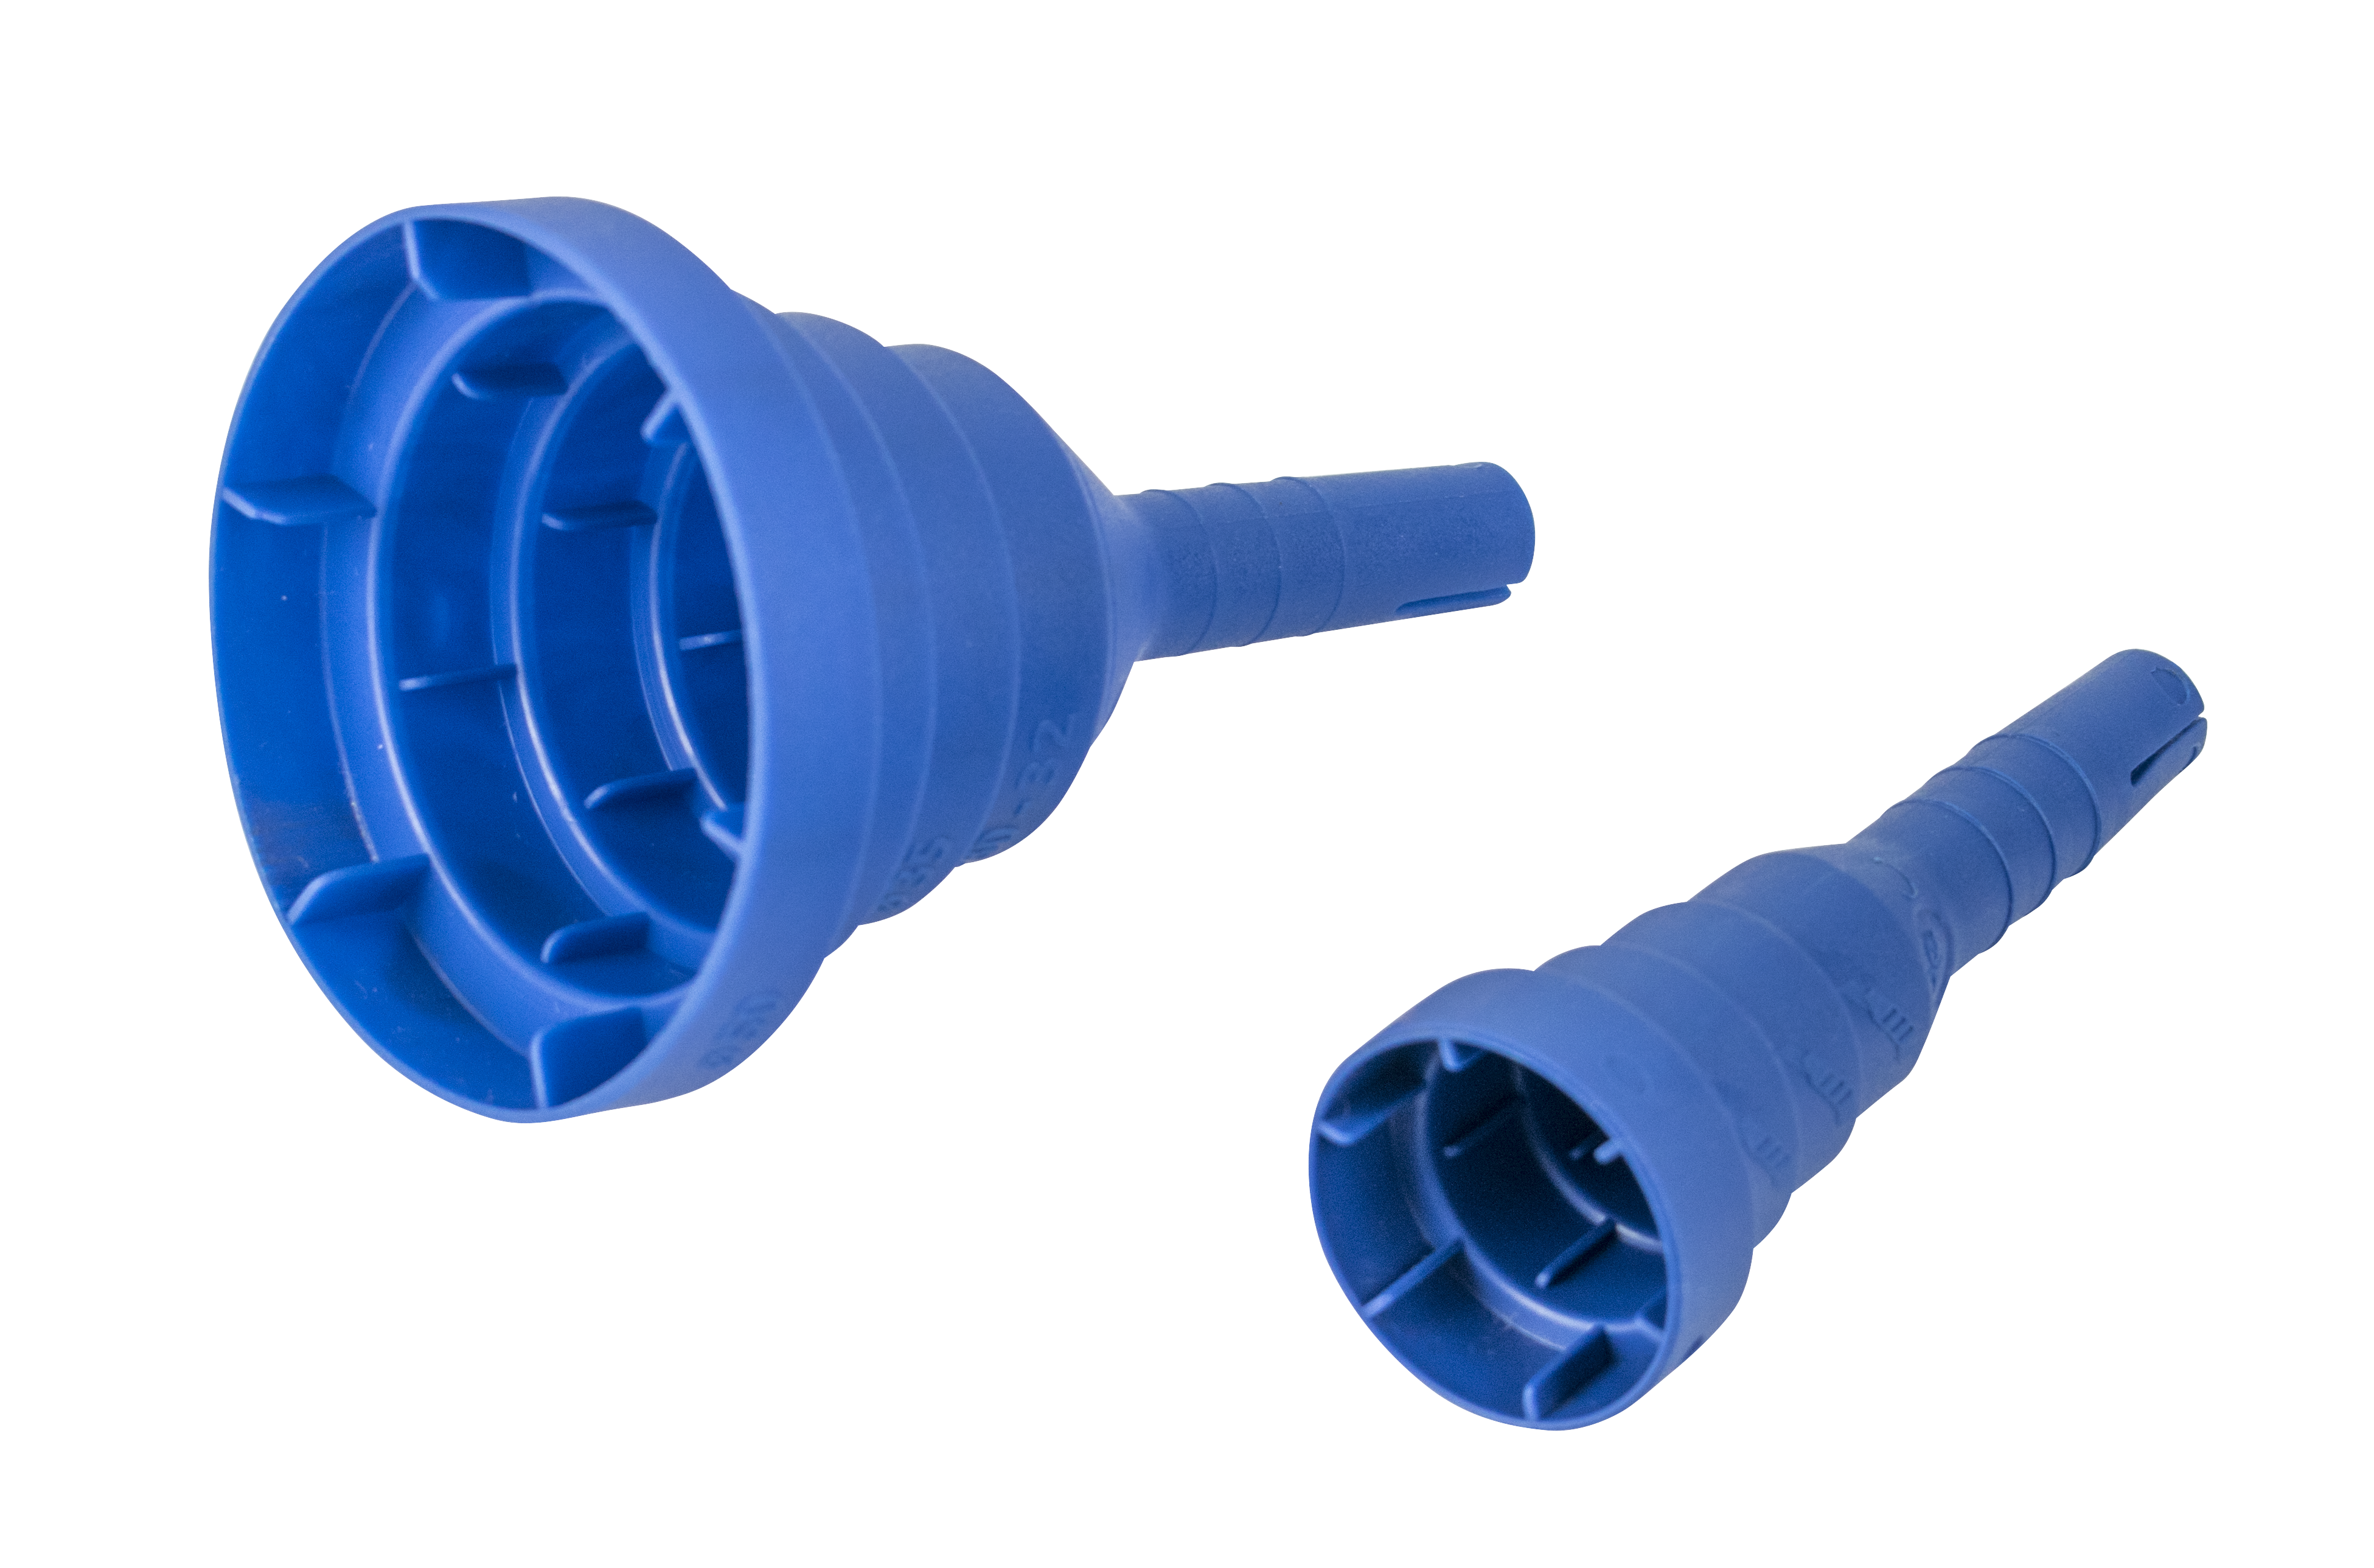
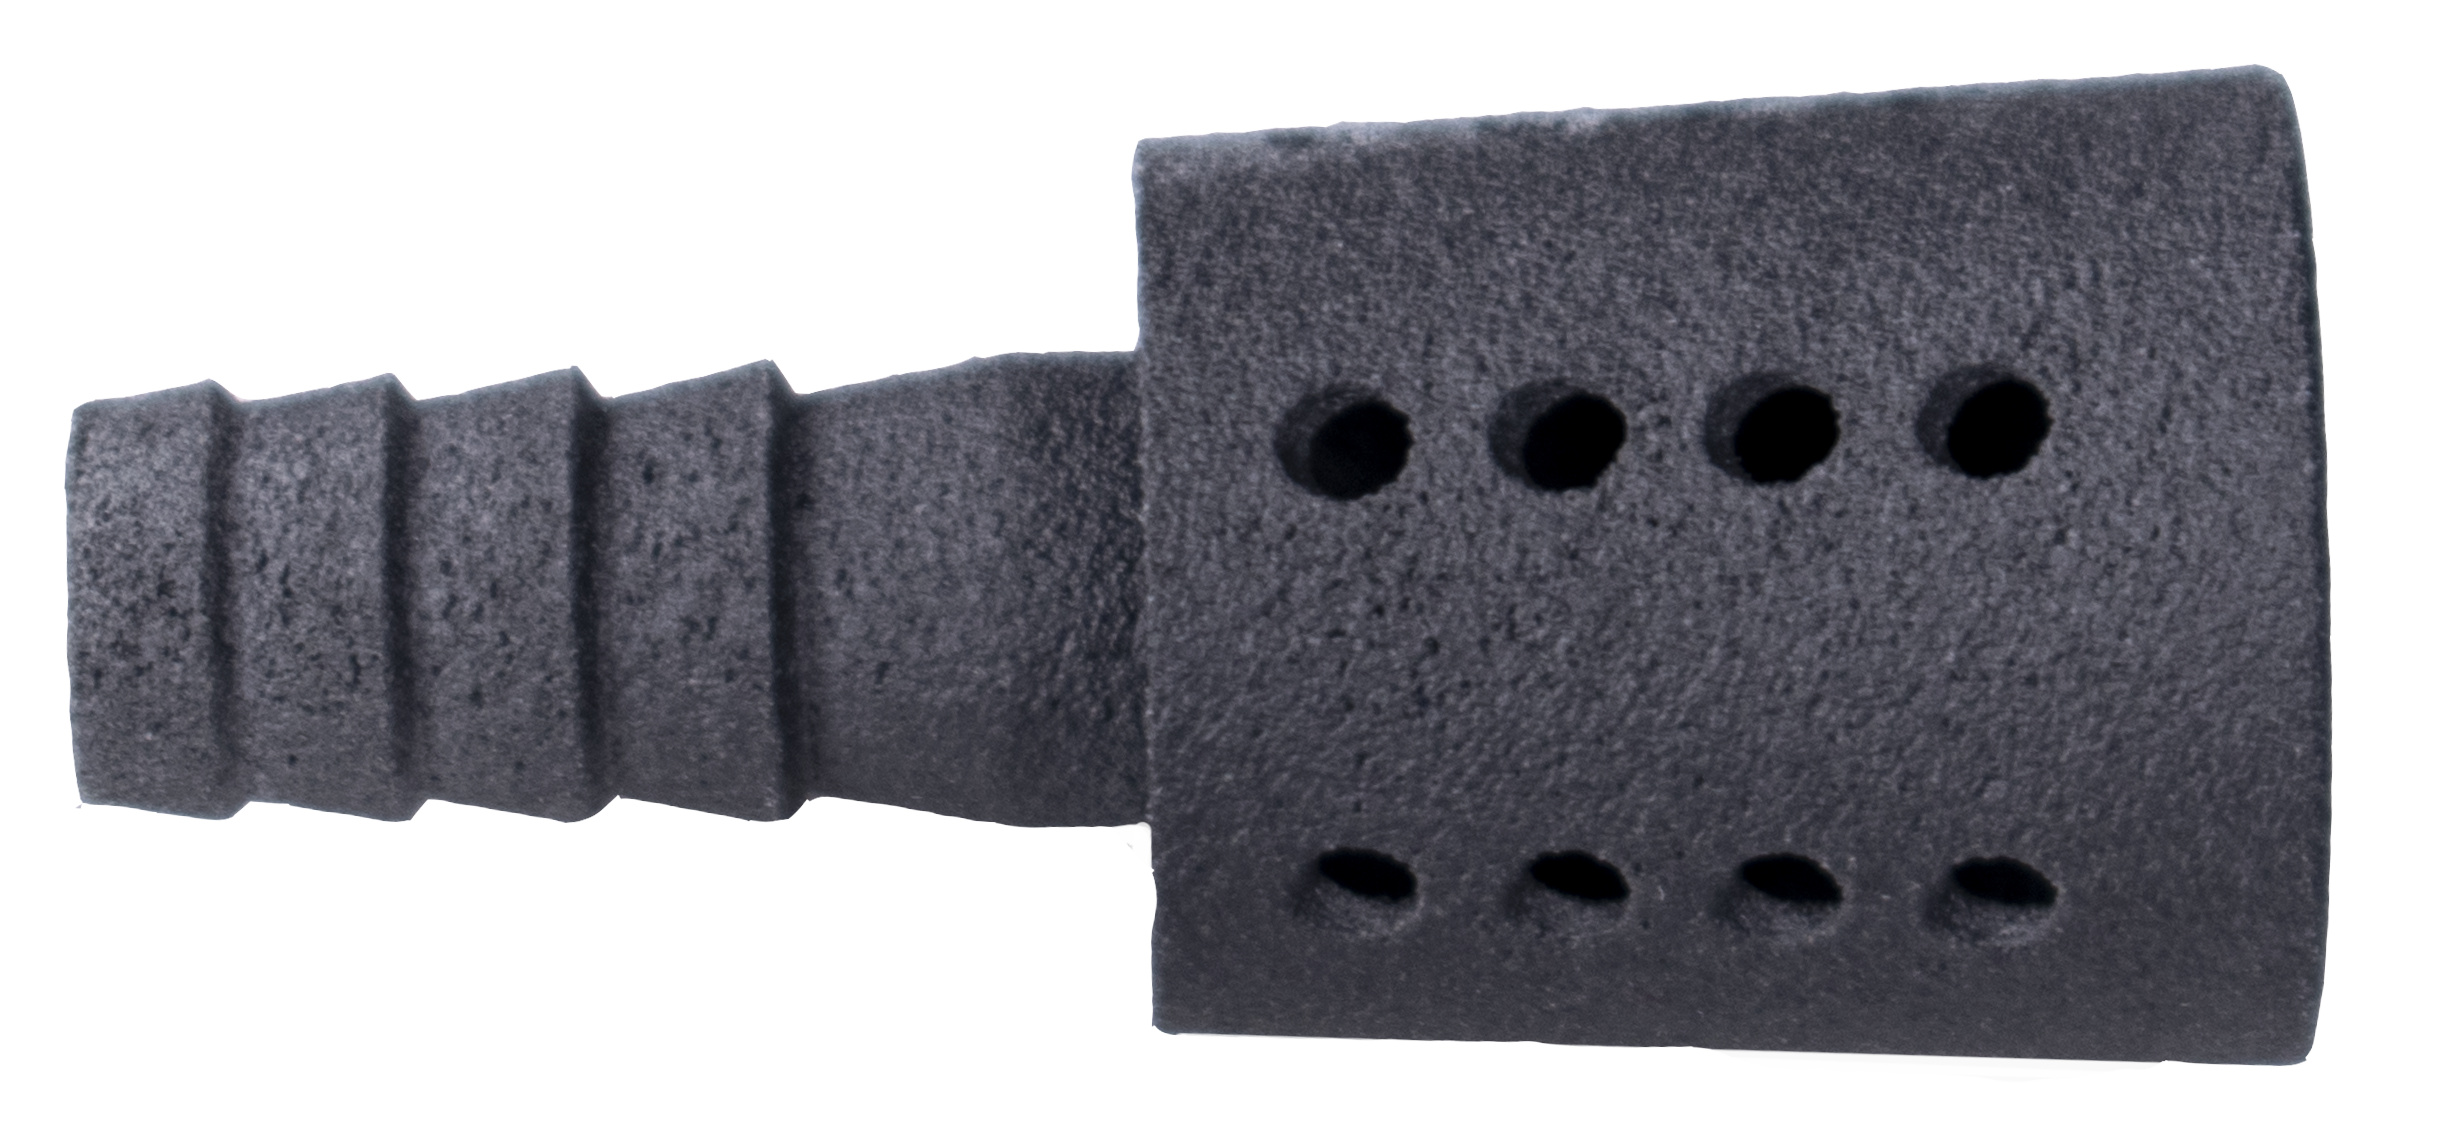
- Accessories dedicated for deep anchoring (brushes, extensions, piston plug, air adater and power guns)
Product information
Product Code |
Resin |
Description / Resin Type |
Volume |
[ml] | |||
R-KEX-I-600 |
R-KEX I |
Epoxy Resin |
600 |
Base material
-
Non-cracked concrete C20/25-C50/60
-
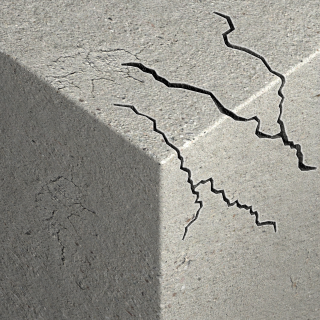
Cracked concrete C20/25-C50/60
For use also with
-

High-Density Natural Stone
Applications
- Safety barriers
- Temporary works/formworks support systems
- Rebar
- Curtain walling
- Formwork support systems
- Masonry support
- Platforms
- Structural steelwork
- Rebar dowelling
- Starter bars
- Rebar missed-outs
Installation guide
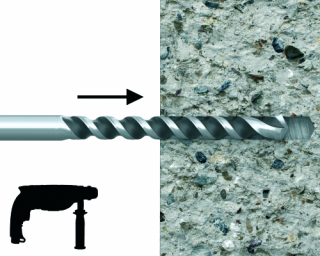
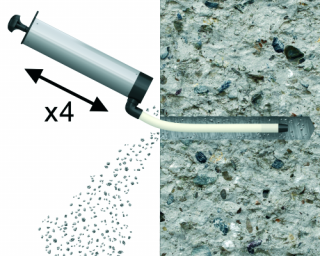
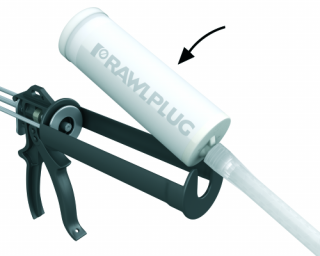
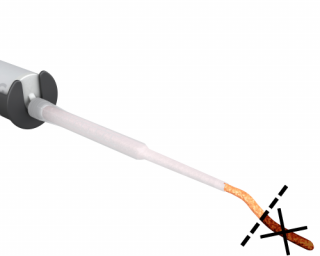


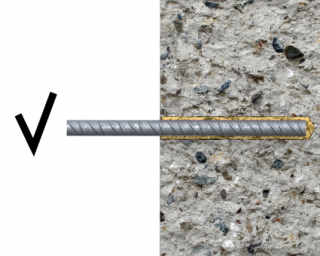
- Drill hole to the required diameter and depth for rebar size being used.
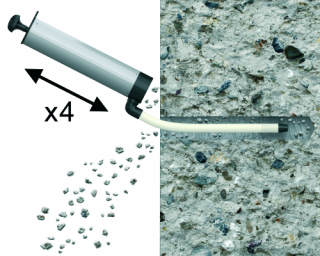
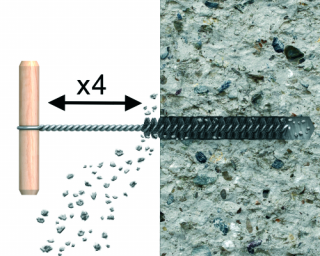
- Clean the hole with brush and hand pump at least four times each. It is very important and necessary before installation.
- Insert cartridge into gun and attach nozzle.
- Dispense to waste until even colour is obtained.
- Insert the mixer nozzle to the bottom of the drill hole and inject resin, slowly withdrawing the nozzle as the hole is filled to 70% of its depth.
- Immediately insert the rebar, slowly and with slight twisting motion. Remove any excess resin around the hole before it sets and leave it undisturbed until the curing time elapses.
Installation data
REBARS AS ANCHORS
Size |
Ø8 |
Ø10 |
Ø12 |
Ø16 |
Ø20 |
Ø25 |
Ø32 |
||
Rebar diameter |
ds |
[mm] |
8 |
10 |
12 |
16 |
20 |
25 |
32 |
Hole diameter in substrate |
d0 |
[mm] |
12 |
14 |
18 |
22 |
26 |
35 |
40 |
Min. hole depth in substrate |
h0 |
[mm] |
hnom+5 |
hnom+5 |
hnom+5 |
hnom+5 |
hnom+5 |
hnom+5 |
hnom+5 |
Min. substrate thickness |
hmin |
[mm] |
hnom+30 ≥100 |
hnom+30 ≥100 |
hnom+30 ≥100 |
hnom + 2d0 |
hnom + 2d0 |
hnom + 2d0 |
hnom + 2d0 |
Min. spacing |
smin |
[mm] |
40 |
40 |
40 |
40 |
50 |
50 |
65 |
Min. edge distance |
cmin |
[mm] |
40 |
40 |
40 |
40 |
50 |
50 |
65 |
MINIMUM EMBEDMENT DEPTH | |||||||||
Min. installation depth |
hnom,min |
[mm] |
60 |
60 |
70 |
80 |
90 |
100 |
128 |
MAXIMUM EMBEDMENT DEPTH | |||||||||
Min. installation depth |
hnom, max |
[mm] |
160 |
200 |
240 |
320 |
400 |
500 |
640 |
Minimum working and curing time
Resin temperature |
Concrete temperature |
Curing time* |
Working time |
[°C] |
[°C] |
[min] |
[min] |
5 |
5 |
96 h |
180 |
10 |
10 |
72 h |
120 |
20 |
20 |
10 h |
50 |
25 |
30 |
5 h |
35 |
25 |
40 |
4 h |
20 |
